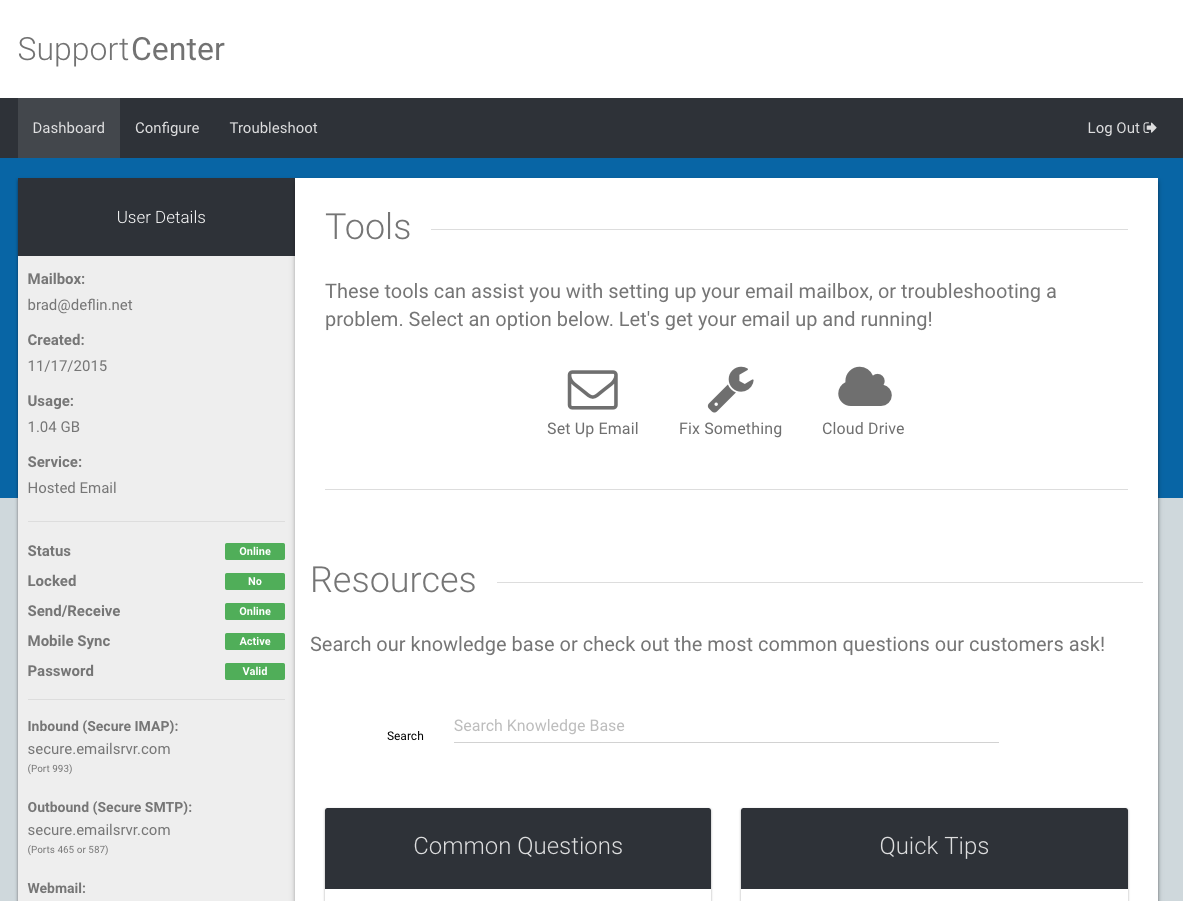
Private Email SupportCenter
As a Total Digital Security customer, your Private Email account includes your own SupportCenter.
Your SupportCenter portal is customized to with the information you need specific to your email box and services, including:
- SetUp Email
- Fix Something
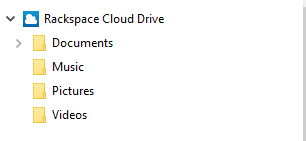
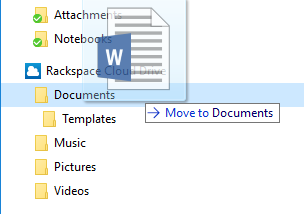
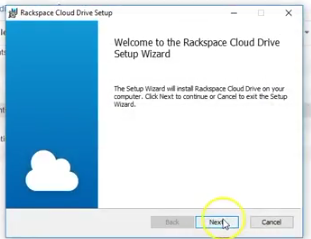
- Cloud Drive
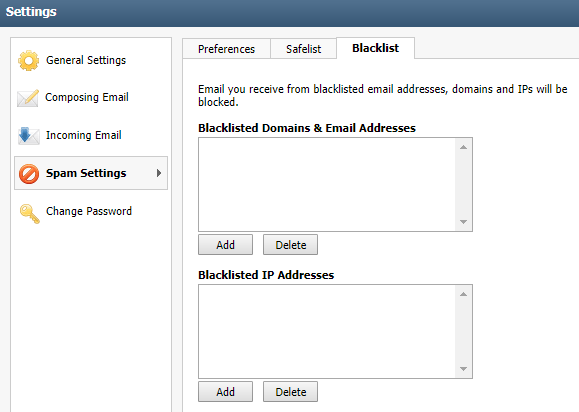
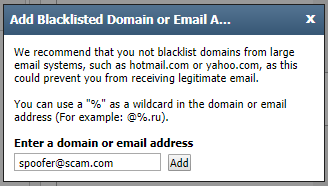
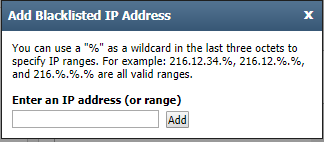
- Stopping Spam and Junk
- Trending Solutions, Common Questions, and Quick Tips
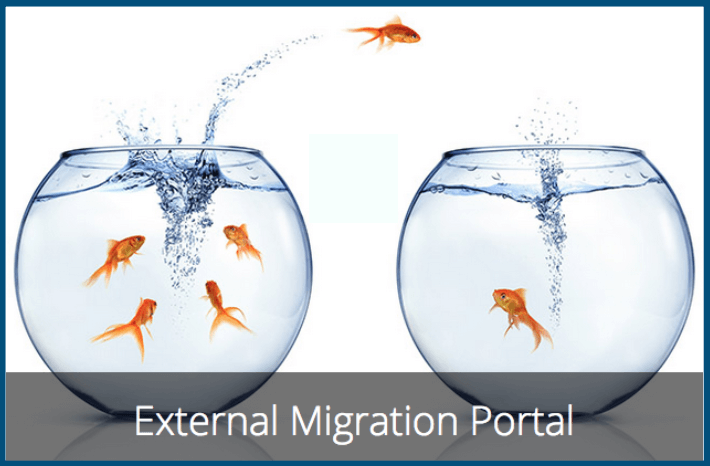
Migrating to Private Email
For the migration tool and instructions, click here:
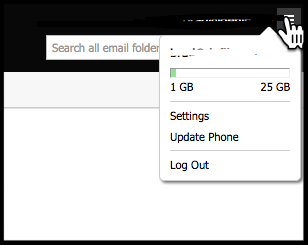
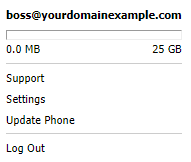
New to Private Email accounts from Total Digital Security?

 To change these preferences in the Mail app on your Mac, choose Mail > Preferences, click Accounts, then click Mailbox Behaviors.


Behind the Scenes: The Future of Your...
June is here, and we're thrilled to share some of the...
Read More
Chinese "Smishing" Operations: A Growing...
This month, I want to bring your attention to a...
Read More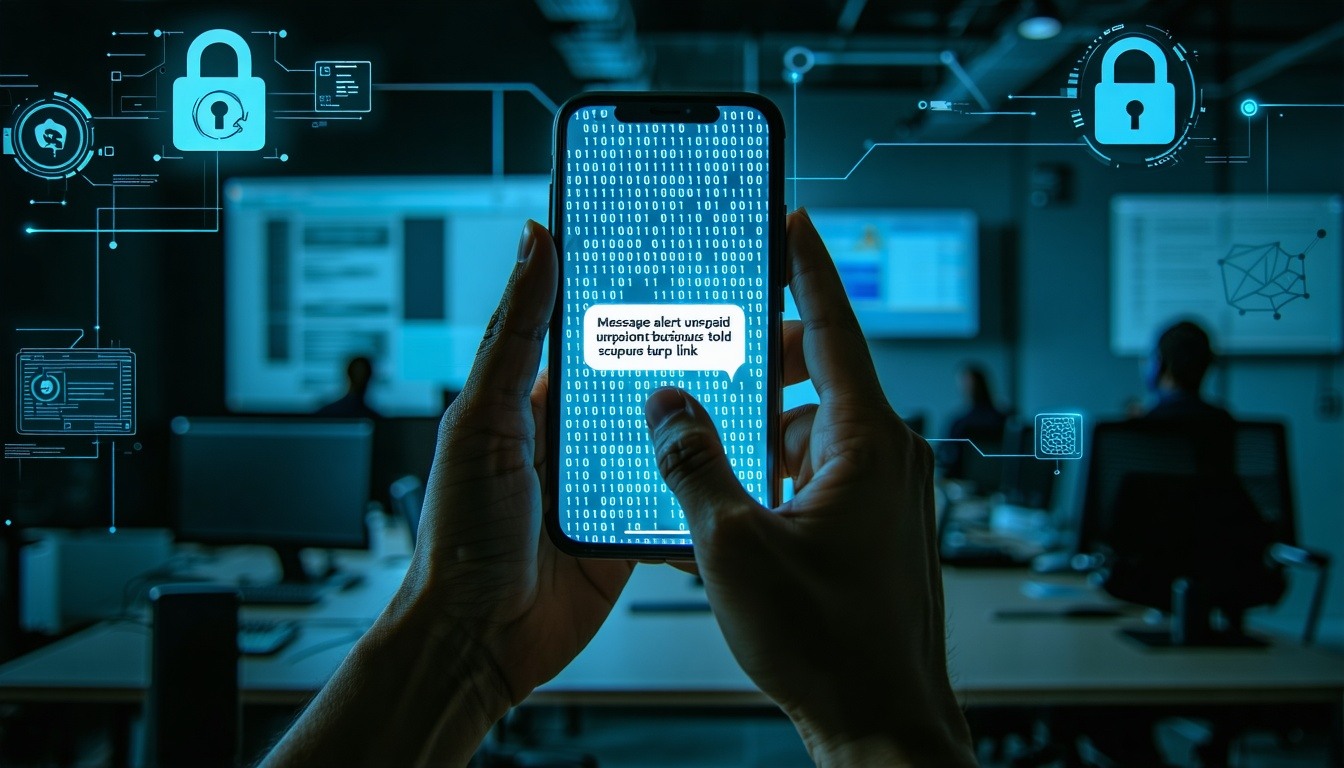
Staying Ahead of Cyber Threats With AI - TDS...
Since 2013, Total Digital Security (TDS) has been...
Read More